
Last updated October 16, 2026
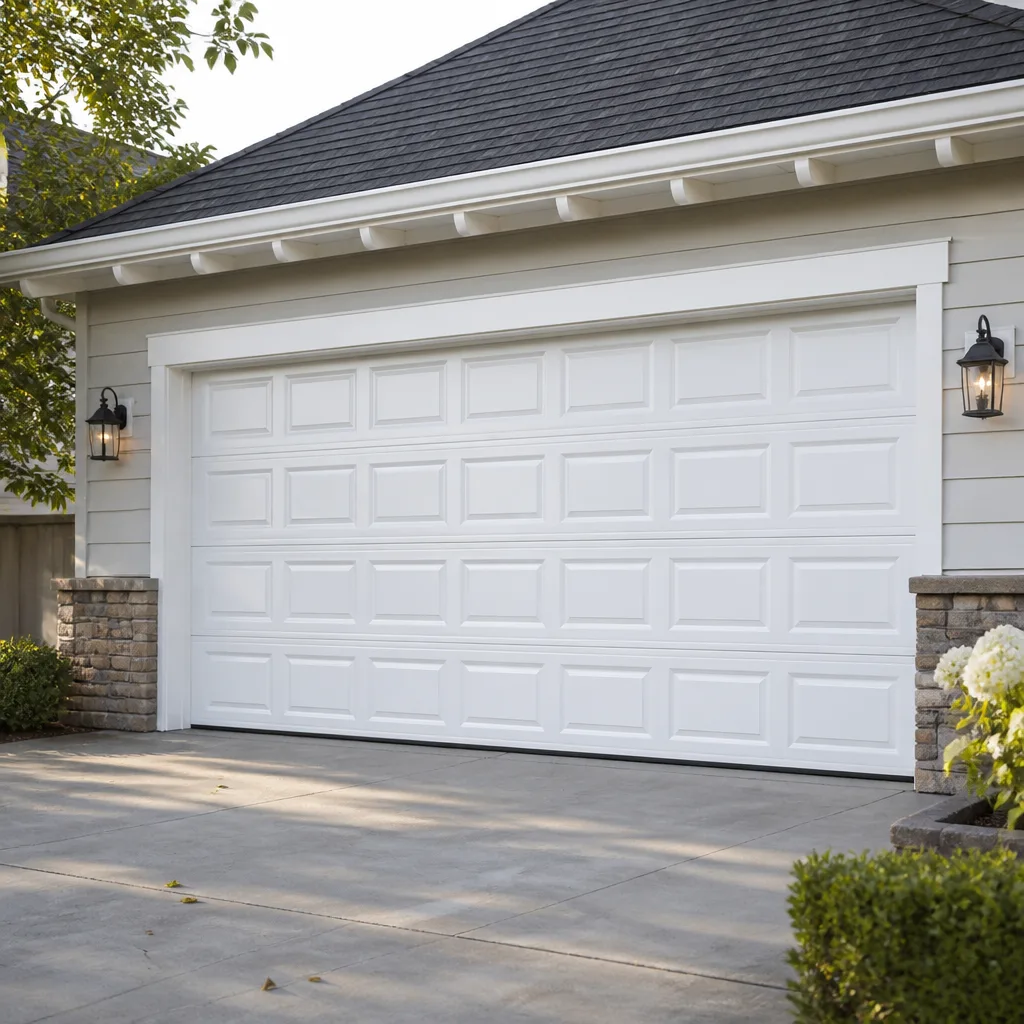 Raised-panel steel
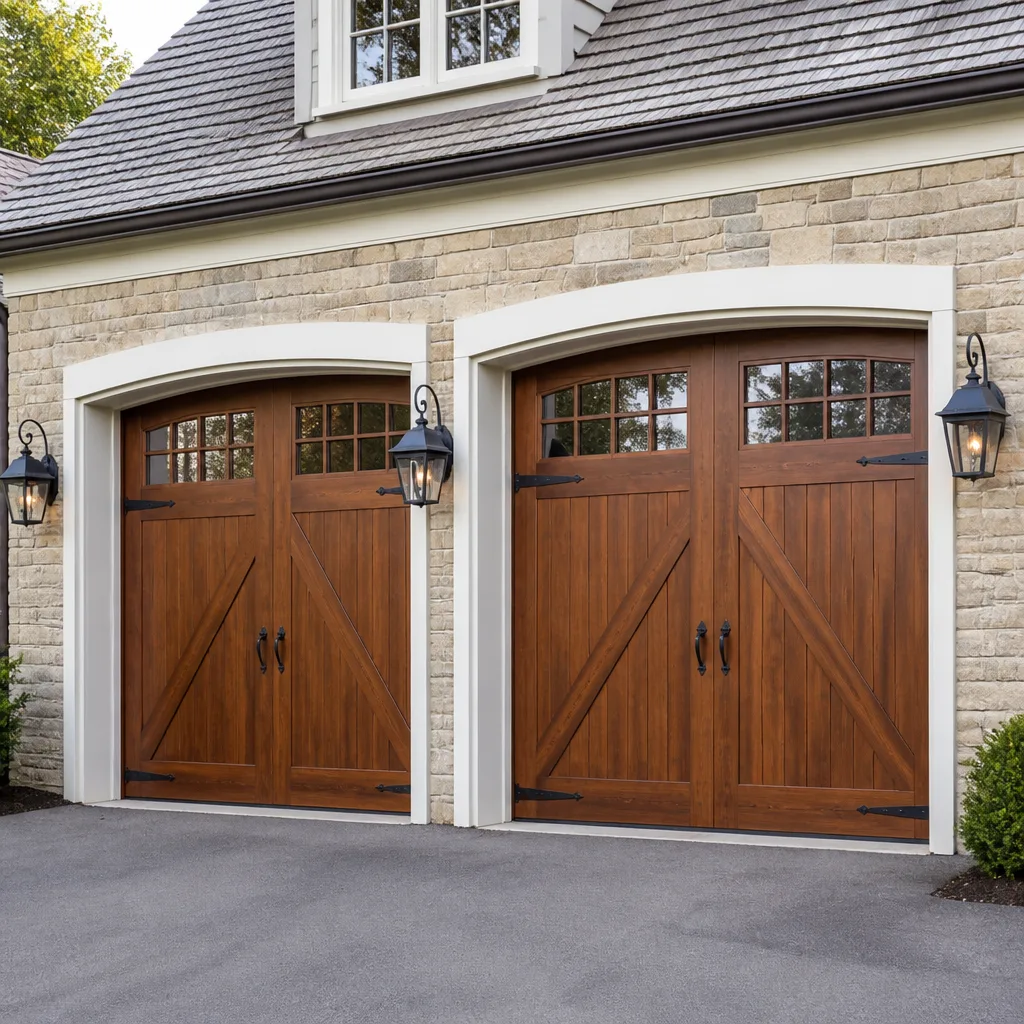 Carriage house
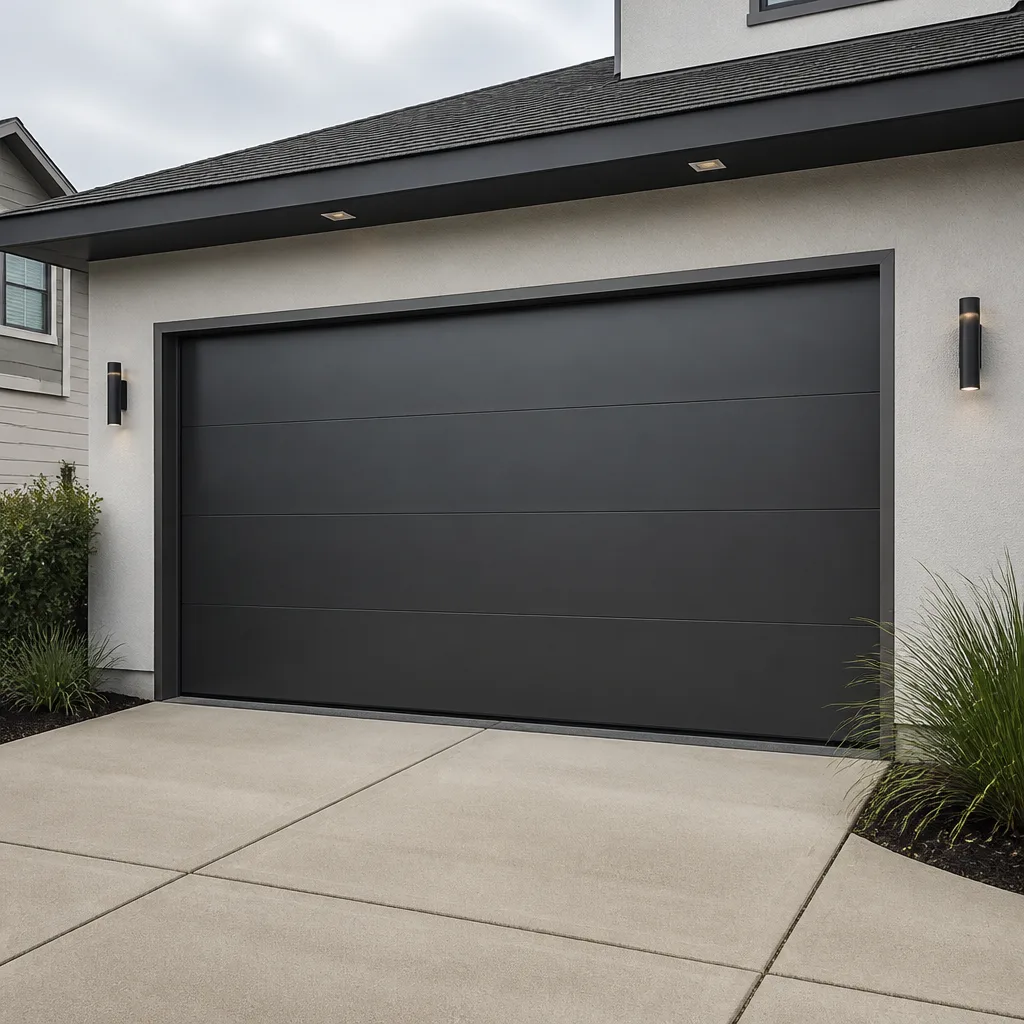 Modern flush
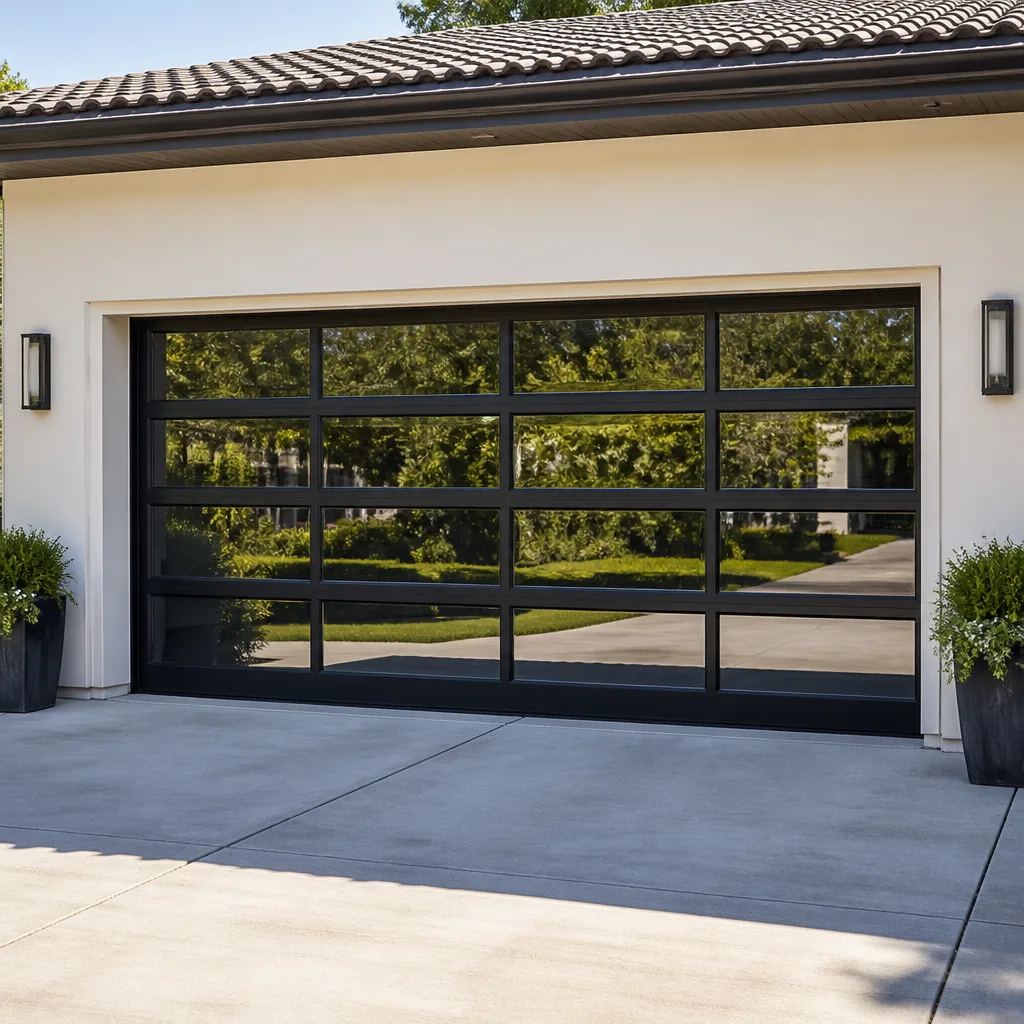 Full-view glass
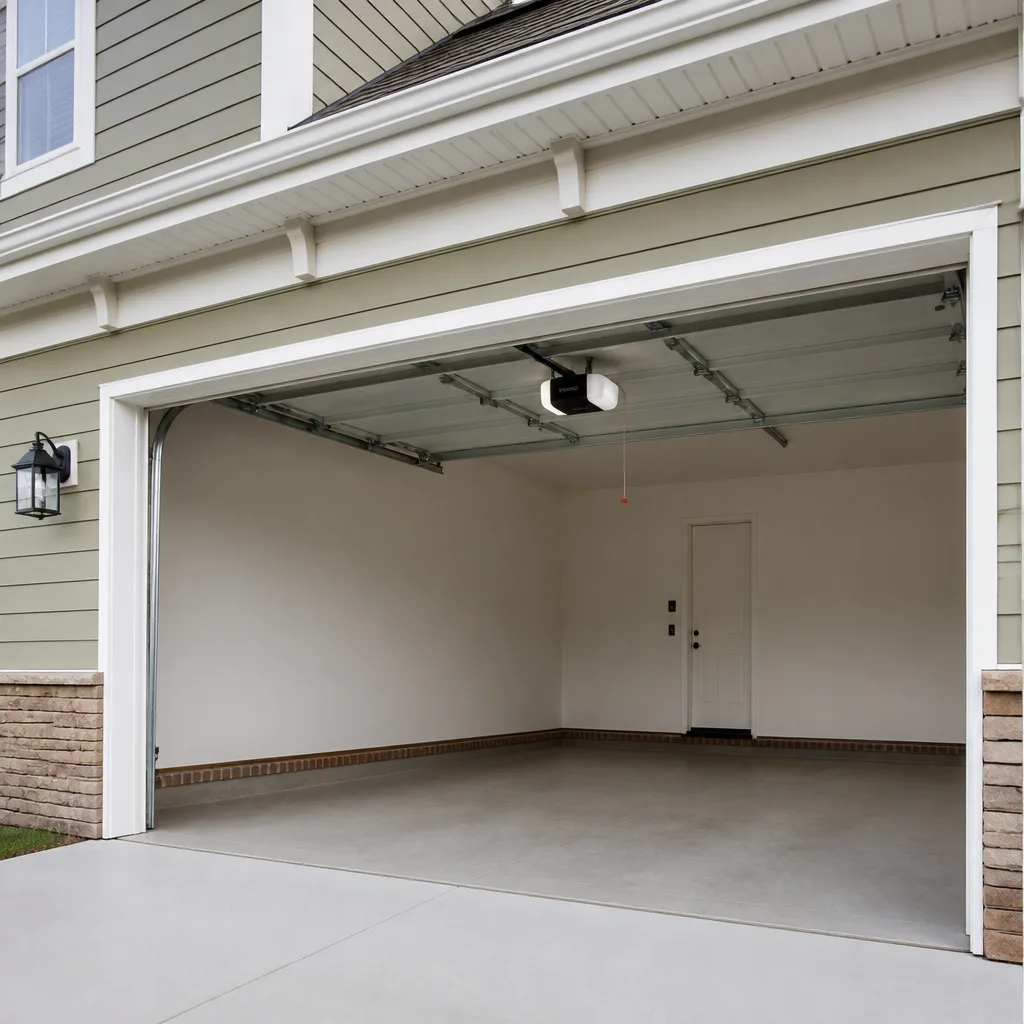 LiftMaster openers
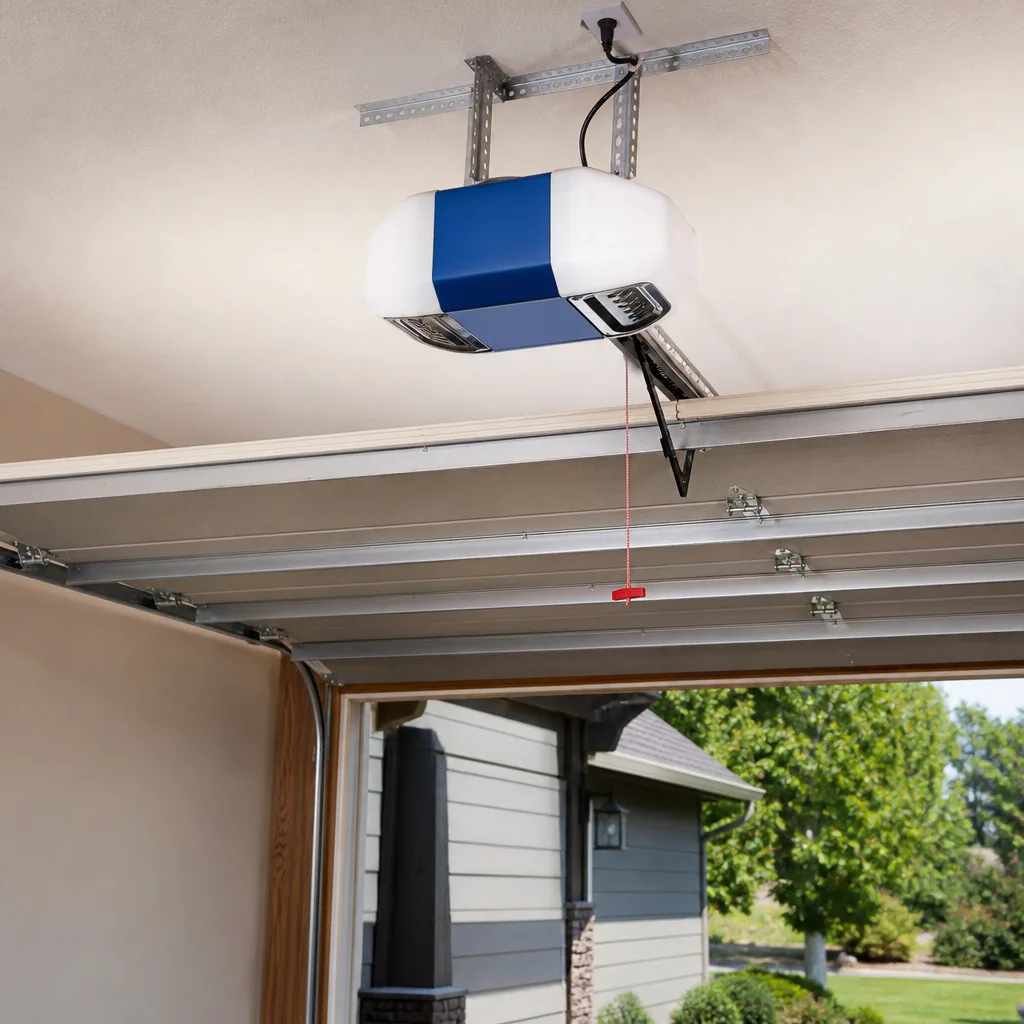 Chamberlain openers
Full 25-point door and opener safety check with every visit - springs, cables, rollers, tracks, and your LiftMaster or Chamberlain opener included
You get a price before we start. It does not change when the truck arrives.
Get your free estimateDIY vs Professional Garage Door: The Austin Homeowner’s Decision Guide
A torsion spring on a standard Austin garage door stores roughly 150 to 250 pounds of torque when fully wound. That energy releases in a fraction of a second if the spring snaps or the winding bar slips. The same door also has a rubber bottom seal any homeowner can replace in fifteen minutes with a utility knife and no training at all. This guide separates those two realities. We’ll walk through which garage door tasks are genuinely safe for a Saturday afternoon in Austin, which ones demand a licensed professional, and what each decision actually costs you in time, money, and risk.
Styles & brands we work with
Quick Answer
Most garage door maintenance in Austin is safe for a capable homeowner, but the line isn’t about your skill level. It’s about the specific component: lubrication, weatherstripping, sensor realignment, and opener reprogramming are legitimate DIY work, while torsion spring replacement, cable repair, and track realignment are professional-only jobs that can cause serious injury. If the part stores mechanical energy under tension, call a professional. Everything else, you can probably handle with a wrench and twenty minutes.
Table of Contents
- The Component-by-Component Safety Matrix
- What DIY Actually Costs in Austin: Parts, Time, and Hidden Markups
- The YouTube Problem: Which Tutorials Skip the Steps That Matter
- The Insurance Angle: What Your Austin Homeowner’s Policy Says About DIY Repairs
- The Five-Question Decision Flowchart
- Safe DIY Tasks: Step-by-Step for Austin Homeowners
- Professional-Only Repairs: The Physics of Why
- Common Mistakes to Avoid
- When to Call a Professional
- Frequently Asked Questions
- The Bottom Line
The Component-by-Component Safety Matrix
We’ve organized every common garage door component into three categories: green for tasks any Austin homeowner can do safely without prior experience, yellow for tasks that require moderate mechanical skill and a healthy respect for how doors operate, and red for tasks that should never be attempted without professional training and the proper tools. The categories are not about your intelligence or your work ethic. They’re about stored energy, pinch points, and what happens when a component fails mid-repair.
Green: Safe for Any Homeowner
- Lubricating hinges, rollers, and tracks – a spray can of white lithium grease and a rag. Takes ten minutes, no disassembly, no tension.
- Replacing the bottom weatherstrip seal – the rubber strip along the bottom of the door. It slides out of a channel and the new one slides back in. This deteriorates faster in Austin’s heat than in cooler climates, so you’ll likely do this once every two to three years.
- Tightening loose bolts and screws on the door panels and hinge brackets – visible hardware you can see and reach from the ground.
- Cleaning and realigning photoelectric safety sensors – the small eyes near the bottom of each track. Austin dust and the occasional scorpion carcass can block the beam. Wipe them off, adjust the mounting bracket so both lights are solid, and you’ve likely fixed a door that reverses for no reason.
- Reprogramming or replacing remote controls and keypads – follow the opener’s manual. Chamberlain and Genie openers both have a learn button on the motor head. Press it, press the remote button, done.
- Testing the door balance – pull the emergency release cord and lift the door manually to waist height. If it stays put, the springs are doing their job. If it drops, call a professional. Testing is safe. Fixing what the test reveals is not.
Yellow: Skill-Dependent, Proceed With Caution
- Replacing rollers – the nylon or steel wheels that ride in the tracks. Bottom rollers are under tension from the lift cables and you should not remove those without professional help. Top rollers on most doors can be replaced by bending the track slightly, but get this wrong and you’ve created a bigger problem.
- Adjusting the opener’s force and travel limits – done from the opener unit itself using the dials or buttons. If you understand what you’re adjusting and test repeatedly, this is manageable. If you’re guessing, you can set the door to reverse too early or not enough, which creates a safety hazard.
- Replacing the weatherstrip on the sides and top of the door opening – requires a ladder and a drill, but no interaction with moving parts under tension.
- Installing a new garage door keypad – wiring is simple on most models, but knowing which opener generation you have matters for compatibility.
Red: Professional Only, No Exceptions
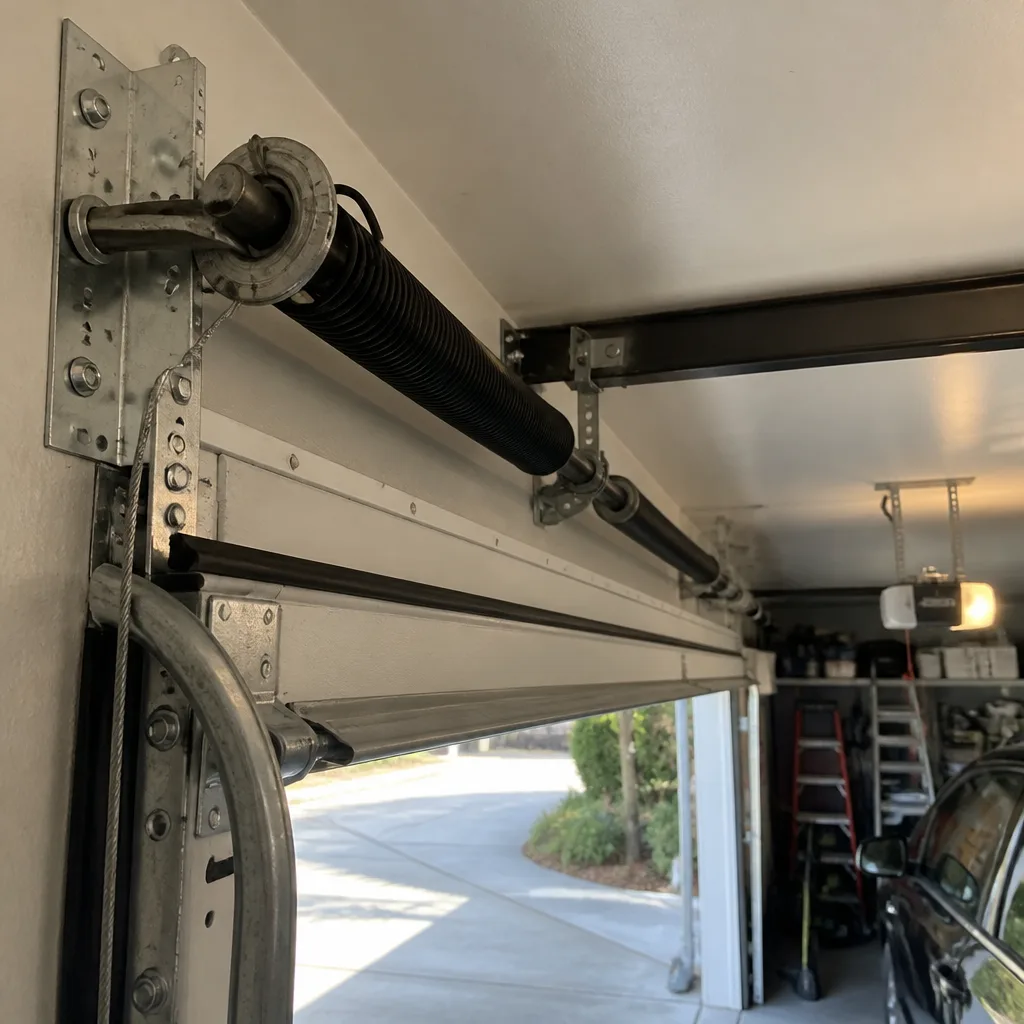
- Torsion spring replacement – the horizontal coil above your door that does most of the lifting. These springs are wound under 7,000 to 14,000 pounds per square inch of internal stress depending on the door’s weight and spring size. The winding bars used to tension them can kick back violently if you lose grip. A snapped torsion spring in Austin is the single most common reason we get a phone call.
- Extension spring replacement – the long springs running along the horizontal tracks. They require a safety cable running through the center. Without that cable, a breaking spring becomes a projectile.
- Cable replacement – the braided steel cables connected to the bottom brackets and springs. They carry the full weight of the door. When a cable frays and snaps, it can whip across the garage. This is not an exaggeration. We’ve repaired doors in Round Rock and Georgetown where a frayed cable sliced through a cardboard box sitting nearby.
- Track bending or realignment – tracks must be perfectly parallel and properly secured to framing. A door off track under tension can come completely off its rollers and fall.
- Replacing a bottom panel or section – panels are heavy, and removing the wrong one changes the door’s structural behavior.
What DIY Actually Costs in Austin: Parts, Time, and Hidden Markups
The honest savings math starts with what you’ll pay at a big-box store in Austin versus what a repair company pays wholesale. You’ll find a replacement torsion spring at a retail store for roughly $60 to $90 for a standard single-spring setup, assuming the store stocks your exact spring size. That’s the first problem: torsion springs are not one-size-fits-all. Each door uses a spring with a specific wire gauge, inside diameter, length, and wind direction. Most Austin big-box stores carry a limited selection, usually in standard sizes for 7-foot doors. If you have an 8-foot door or a heavy door from Clopay or Amarr, you’re likely looking at a special order and a wait.
A professional pays wholesale and already carries the common sizes on the truck. The spring itself might be $25 to $40 in material cost. The difference between what you pay retail and what the pro pays wholesale is real, but it’s not the whole story. The professional brings winding bars, which are not included in a retail spring purchase. You’ll need to buy those separately, about $20 for a set. You’ll run the job with your own time: a first-time spring replacement usually takes a homeowner three to five hours, assuming nothing goes wrong. The professional does it in 45 minutes.
Then there’s the cost of getting it wrong. If you under-wind a spring, the door is too heavy for the opener, which burns out the motor over time. If you over-wind it, the door can fly upward, and the spring becomes even more dangerous to adjust. We’ve been called to Austin homes where a DIY spring job lasted two weeks before the spring unwound incorrectly and the door jammed halfway up. The repair cost the homeowner two springs instead of one.
For a straightforward comparison: a professional spring replacement in Austin typically runs $180 to $340 depending on spring type and door weight. The DIY path costs $80 to $110 in parts and tools, plus your afternoon, plus the physical risk, plus the possibility of a do-over. That’s not much of a spread for the most dangerous repair on the entire door.
For the green-tier tasks, the math flips hard in the homeowner’s favor. A bottom seal from any Austin hardware store runs $15 to $25. A can of lithium grease is $8. Sensor cleaning costs nothing. A professional service call to do those same tasks has a trip charge and an hourly minimum, so you’d pay $120 to $200 for fifteen minutes of work you can do without thinking. This is where DIY genuinely wins, and it’s the part of the conversation most guides ignore.
The YouTube Problem: Which Tutorials Skip the Steps That Matter
YouTube tutorials have made basic garage door maintenance more accessible than ever, but they’ve also created a false sense of confidence for dangerous repairs. We’ve watched dozens of the most-viewed spring replacement tutorials, and the pattern is consistent. A competent technician films the job, narrates the steps, and the project looks clean and controlled. What the camera doesn’t show is what that technician is thinking about on every turn of the winding bar: body position, bar angle, grip, and what happens if the bar slips.
The most common omission in DIY spring videos is the “never put your head in the winding cone’s plane of rotation” rule. When you’re winding a torsion spring, the winding bars sweep in a circle. If a bar kicks back, it travels within that circle. A trained technician keeps their face and body outside that plane at all times. Most tutorials never mention this because the person filming assumes it’s obvious. It is not obvious to a first-timer.
Another recurring omission: clamping the door in place before touching the springs. On a torsion spring system, the spring holds the door’s weight. If you unbolt the spring without securing the door, the door can drop. A few tutorials show the door secured with locking pliers on the track. Most do not, because the person filming has done it so many times they forget to mention it.
Extension spring tutorials frequently skip the safety cable. If you replace an extension spring and do not run a safety cable through its center, a snapped spring will fly across the garage. This is not a minor oversight. We’ve seen the results in Austin garages, and the damage is memorable.
The tutorials that are reliable tend to be longer, show body positioning explicitly, mention the specific tools by name, and include a segment on what not to do. Shorter videos that breeze past the setup and focus on the “satisfying” part of the job are dangerous. If a video makes a spring replacement look easy, it’s skipping the parts that keep you safe. The Garage Door Spring Repair in Austin work we do daily is the same work those videos show, but the difference is the thousands of repetitions that make the risk manageable.
The Insurance Angle: What Your Austin Homeowner’s Policy Says About DIY Repairs
Homeowner’s insurance in Texas generally covers sudden and accidental damage to your home, including garage doors, if the cause is a covered peril like wind, hail, or a vehicle impact. What most Austin homeowners do not realize is how a DIY repair affects a later claim. Insurance companies look for causation. If a door fails and damages your vehicle or injures someone, the adjuster will investigate whether the door had been serviced recently and whether that service was performed by a qualified professional.
Here’s the scenario that plays out in Austin more than you’d think: a homeowner replaces their own torsion spring, the job looks fine, and six months later the spring snaps again and the falling door damages a car parked in the driveway. The homeowner files a claim. The adjuster asks who installed the spring. The answer is “I did.” At that point, the insurance company has a basis to deny the claim on the grounds of improper maintenance or installation. The homeowner is now paying for a car repair and a garage door out of pocket.
The same logic applies to injuries. If a guest is hurt by a falling door and the door’s spring system was serviced by an unlicensed homeowner, the liability picture changes. A professional repair company carries general liability insurance that covers workmanship. A homeowner doing the same repair carries no workmanship coverage at all. Their only protection is their homeowner’s policy, which may not apply if the insurer determines the homeowner created the hazard.
This does not mean every DIY task voids your insurance. Cleaning sensors, replacing a seal, or lubricating components has no effect on coverage. The line is the same as the safety line: if the component stores energy or supports weight, a DIY repair creates a coverage risk. If it doesn’t, it’s housekeeping, not a liability.
The practical advice we give Austin homeowners is straightforward: document professional repairs, keep the invoice, and do not attempt red-tier work yourself. That invoice is your proof of professional maintenance if you ever need to file a claim. It costs nothing to keep it and can save you thousands in a dispute.
The Five-Question Decision Flowchart
Every garage door decision we’ve seen in Austin can be routed through five yes-or-no questions. Run your situation through these in order, and you’ll land on the right answer in under two minutes. This works for anything from “the door is making a weird sound” to “the spring snapped at 7 a.m. and I need to get to work.”
- Does the component store mechanical energy under tension? Torsion springs, extension springs, and cables all store energy. If yes, stop. Call a professional. No exceptions. This question alone eliminates the most dangerous repairs.
- Is the door itself off its tracks or visibly misaligned? A door hanging at an angle or sitting off a roller is under uneven load. If yes, call a professional. Not because you can’t understand the problem, but because the weight of the door can shift suddenly while you work on it.
- Can you see and reach the part without a ladder above three feet? If the repair requires working at height near a moving door, the fall risk and pinch risk multiply. If you’re uncomfortable on a ladder, that’s your answer. Yellow and green tasks at ground level are fine.
- Does the repair require removing bolts, brackets, or hardware connected to the springs or cables? Some roller replacements and bracket fixes look simple but require detaching components under tension. If the answer is yes and you’re not certain how the tension transfers, call a professional.
- Is the door used daily and needed for work, school, or safety? If the door must work tomorrow morning and your schedule is the repair window, the professional call is often cheaper in real terms. A DIY repair that runs long means a door that won’t close overnight, and in Austin, an open garage invites more than just the heat.
If you answered yes to question 1 or 2, the decision is made. If you passed those and answered no to everything else, you’re looking at a green-tier job. Grab the right tool and go. If you’re somewhere in the middle, the honest answer is usually this: you can do it, but you need to budget twice the time you expect and be willing to call for backup if the door fights back.
Safe DIY Tasks: Step-by-Step for Austin Homeowners
These are the tasks we tell Austin homeowners to do themselves. They’re simple, safe, and they’ll save you a service call. We’ve done these jobs hundreds of times in Austin neighborhoods from Mueller to Circle C, and none of them require special training. What they require is the right order of operations.
How to Lubricate Your Garage Door in Austin’s Climate
Austin’s heat and dust mean your garage door needs lubrication more often than doors in milder climates. We recommend twice a year, ideally in spring and fall when the temperature swings accelerate wear. You’ll need a can of white lithium grease or silicone spray, a rag, and ten minutes.
- Disconnect the opener by pulling the emergency release cord. You’ll work the door manually.
- Open the door fully. If it’s hard to move, that’s a sign a spring may be failing, and you should stop and call a professional for a Garage Door Repair in Austin assessment.
- Spray the hinges at each panel joint, one short burst per pivot point.
- Spray the roller bearings if your rollers have exposed bearings. Nylon rollers with sealed bearings need no lubrication.
- Wipe the vertical and horizontal tracks clean. Do not lubricate the tracks themselves. Lubricant on tracks attracts Austin’s fine dust and creates a gummy paste that makes the door run worse.
- Spray the torsion spring with a light coat, covering the entire coil. This reduces friction between the coils as the spring winds and unwinds.
- Reconnect the opener and run the door through a full cycle to distribute the lubricant.
How to Replace a Bottom Weatherstrip Seal
The Austin sun deteriorates rubber seals faster than almost anything else on a garage door. You’ll know it’s time when you can see daylight under the closed door or when the seal has turned brittle and cracked. Replacement takes about twenty minutes.
- Measure the width of your door and buy a matching replacement seal. Most doors use a standard T-style or bead-style seal that slides into a channel on the door’s bottom retainer.
- Open the door fully and secure it. With the seal accessible, grab the old seal at one end and pull. It usually slides out of the channel in one piece.
- Clean the channel with a rag. Austin dust and old rubber debris will make the new seal harder to slide.
- Slide the new seal into the channel from one end. If it resists, a small amount of dish soap on the channel helps. Do not use WD-40 or petroleum-based lubricants on rubber.
- Cut the excess length with a utility knife so the seal is flush with the door edges.
- Close the door and check the seal makes contact with the concrete floor along the full width.
How to Realign Safety Sensors
If your door reverses every time you try to close it and there’s nothing in the way, the likely culprit is misaligned photoelectric sensors. These are the small units on each side of the door opening, about six inches off the ground. They project an invisible beam across the opening. If the beam breaks, the door refuses to close.
- Check the lights on both sensors. Most Genie and Chamberlain models have a small LED. Green or solid means aligned. Blinking or red means the beam is broken or the lens is dirty.
- Wipe the lens on each sensor with a dry cloth. Austin’s dust is fine enough to coat a lens in a few months.
- Check for anything blocking the beam’s path. A broom leaning against the wall, a box shifted slightly, even a spider web can interrupt the beam.
- If the sensor brackets are loose, tighten the mounting screws and adjust the sensor angle until both lights turn solid.
- Test the door. If it still reverses, there may be a wiring issue, which is a good time to call the Marlow Garage Door Repair Austin home team for a diagnostic.
Professional-Only Repairs: The Physics of Why
The reason some garage door repairs are professional-only has nothing to do with gatekeeping and everything to do with stored energy. A garage door is one of the largest moving objects in your home, and when it’s functioning properly, that movement is controlled by a spring system that counterbalances the door’s weight. A typical double-car garage door weighs 250 to 400 pounds. The spring system does the heavy lifting so the opener only handles a fraction of the load. When you work on the spring system, you are working on the component that makes that 400-pound door feel like 15 pounds.
Torsion Springs: The Most Dangerous Component
A torsion spring is a coil of tempered steel mounted horizontally above the door opening. When the door closes, the spring winds, storing mechanical energy. When the door opens, the spring unwinds, releasing that energy. The spring is always under tension, even when the door is open or closed. There is no “safe position” for a torsion spring on an installed door. This is the fundamental difference between garage door springs and almost every other home repair component. A water heater element can be de-energized. A light switch can be turned off. A torsion spring is always live.
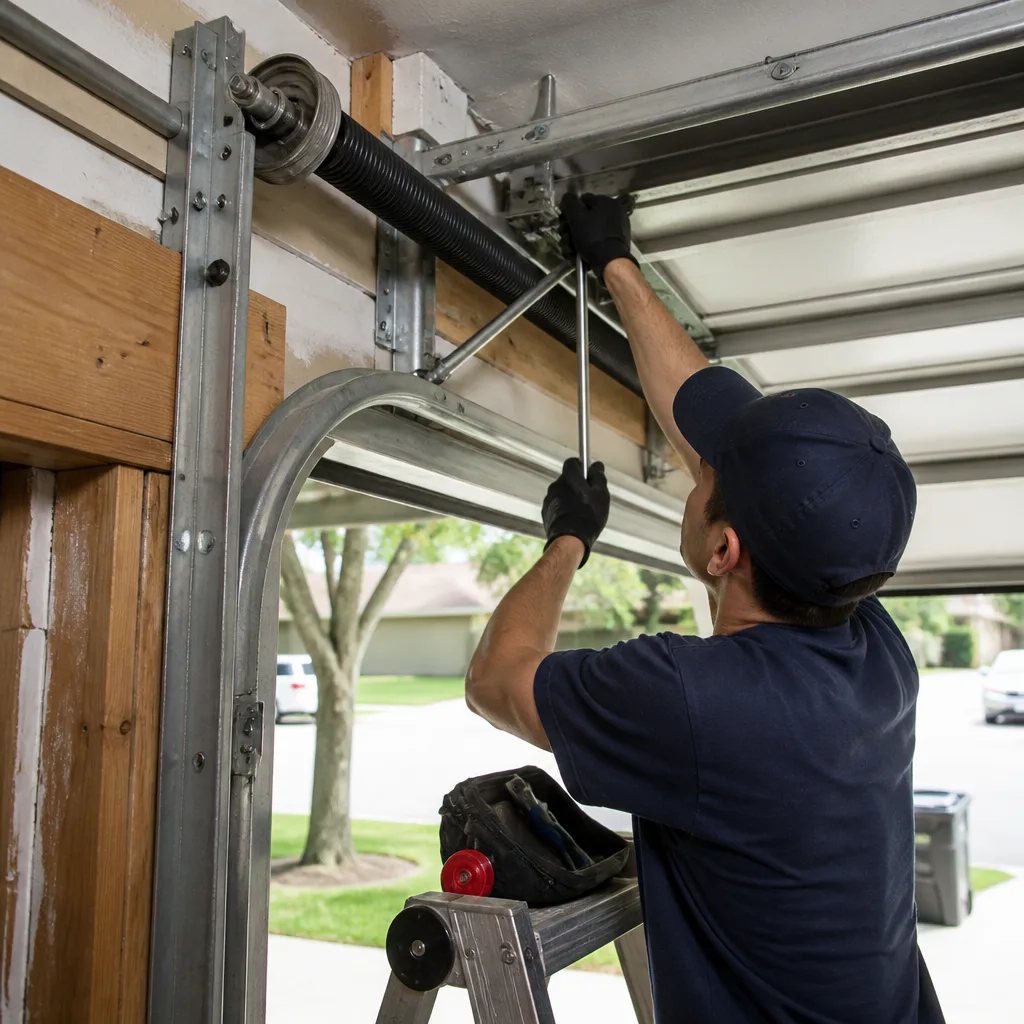
Professional spring replacement involves two steel bars inserted into the spring’s winding cone. The technician turns the cone in quarter-turn increments, adding or removing tension. One slip of the bar, one miscalculated turn, and the bar becomes a lever arm powered by the full stored energy of the spring. An 18-inch winding bar can hit with enough force to break bones. This is not a hypothetical. It happens every year in garages across Texas.
We recommend professional Garage Door Spring Repair in Austin not because the task is intellectually difficult, but because the margin for error is zero and the cost of error is a hospital visit. Jaylen Ross and our team have replaced thousands of springs in Austin garages, and we still approach every single one with the same caution we did on our first.
Garage Door Cables: The Unexpected Projectile
Cables are the braided steel lines that connect the door’s bottom brackets to the spring system. They transfer the spring’s force to the door itself. When a cable frays, individual steel strands begin to snap. You might hear a popping sound or notice the door tilting slightly as it moves. When the cable finally breaks, the full weight of the door shifts to whatever is still connected, which is often the remaining cable, the track, or the spring.
A breaking cable under tension can whip with enough speed to cut through clothing and skin. The danger is invisible because the cable looks like a static piece of hardware. It is not. It is under constant load. Professional Garage Door Cable Repair in Austin work requires releasing the spring tension first, replacing the cable, and re-tensioning the system in the correct sequence. Missing any step leaves the door unbalanced and the new cable prone to the same failure.
Common Mistakes to Avoid
- Lubricating the tracks. Austin garages see a constant influx of fine dust, and lubricant on tracks turns into grinding paste within weeks. Tracks should be clean and dry. Lubricate only the rollers, hinges, and spring.
- Using WD-40 on moving parts. WD-40 is a cleaner and water displacer, not a long-term lubricant. It evaporates quickly and leaves moving parts with less protection than before. Use white lithium grease or a dedicated garage door lubricant.
- Replacing a spring with the wrong size because it was in stock. Springs are rated for specific door weights and heights. A spring that’s too weak won’t lift the door. Too strong and the door becomes dangerous to operate. All three Austin big-box stores we checked carry only a fraction of the spring sizes installed on local doors.
- Skipping the safety cable on extension springs. Some older Austin homes still have extension spring systems. If yours does and the safety cable is missing or broken, do not operate the door. This is a professional fix.
- Adjusting the opener’s force settings to compensate for a failing spring. A weak spring makes the door heavy. Some homeowners turn up the opener’s force dial so the opener works harder. This burns out the opener motor and masks the real problem, which eventually fails catastrophically.
- Attempting a spring repair after watching a short video. We covered this above, but it bears repeating. The tutorials that make spring work look easy are skipping the steps where injuries happen.
- Leaving the door partially open on the track while working underneath it. Always open or close the door fully and secure it before working. A partially open door is suspended by its springs and cables. That’s the position where a failure drops the door on whatever is underneath.
When to Call a Professional
Call a professional when the spring snaps, the cable frays, the door comes off its track, or the door suddenly feels twice as heavy when you lift it manually. These are not repairs you can work your way through. They’re failures of the door’s structural system, and the only safe response is to stop using the door and get someone trained on site. Marlow Garage Door Repair Austin offers free estimates across Austin and the surrounding area. Call (361) 320-8872 and you’ll get a live person, a written price before any work starts, and a 365-Day Done Right Promise on every repair.
Frequently Asked Questions
Spring replacement in Austin typically runs $180 to $340 depending on whether you have one or two springs, the spring’s size and rating, and your door’s weight. You’ll see the exact written price before any work begins. Call (361) 320-8872 for a free estimate.
No. Torsion and extension springs store enough tension to break bones or worse if the winding bar slips or the spring breaks during the job. This is professional-only work, regardless of your mechanical experience. In our experience, even tradespeople in other fields call garage door professionals for spring work.
You can lubricate the rollers, hinges, and spring twice a year, replace the bottom weatherstrip seal, clean and realign the safety sensors, tighten visible hardware, and reprogram remote controls. All of these tasks are safe for any homeowner and require basic tools only.
Most garage door repairs cost less than $400, while a new door installation in Austin runs $1,200 to $3,500 depending on size, material, and brand. If your door is structurally sound and the issue is a spring, cable, roller, or opener problem, repair is almost always the better financial move.
In Austin, the usual causes are dust-clogged rollers, dry metal hinges, or a garage door opener with a worn drive belt or chain. Start with lubrication. If the noise persists, the rollers or hinges may need replacement, which is a quick professional fix.
Every repair Marlow Garage Door Repair Austin performs comes with the 365-Day Done Right Promise in writing. If the repair fails within a year, we return and make it right at no charge. Call (361) 320-8872 and confirm the details for your specific repair.
The Bottom Line
The DIY versus professional garage door decision in Austin is simpler than most people make it. If the part stores tension or supports weight, leave it to someone who does this every day. Torsion springs, extension springs, cables, and track work are professional territory, and the savings from attempting them yourself is measured in tens of dollars against a risk measured in broken bones and denied insurance claims. Everything else, from lubrication to sensor realignment to weatherstripping, is free game. Do those jobs yourself, save the service call, and save the professional budget for the repairs that genuinely demand it. When those repairs come, get a written price before the work starts and a guarantee that lasts longer than the drive home.
Written by Jaylen Ross, Owner at Marlow Garage Door Repair Austin, serving Austin since 2002.
See the difference
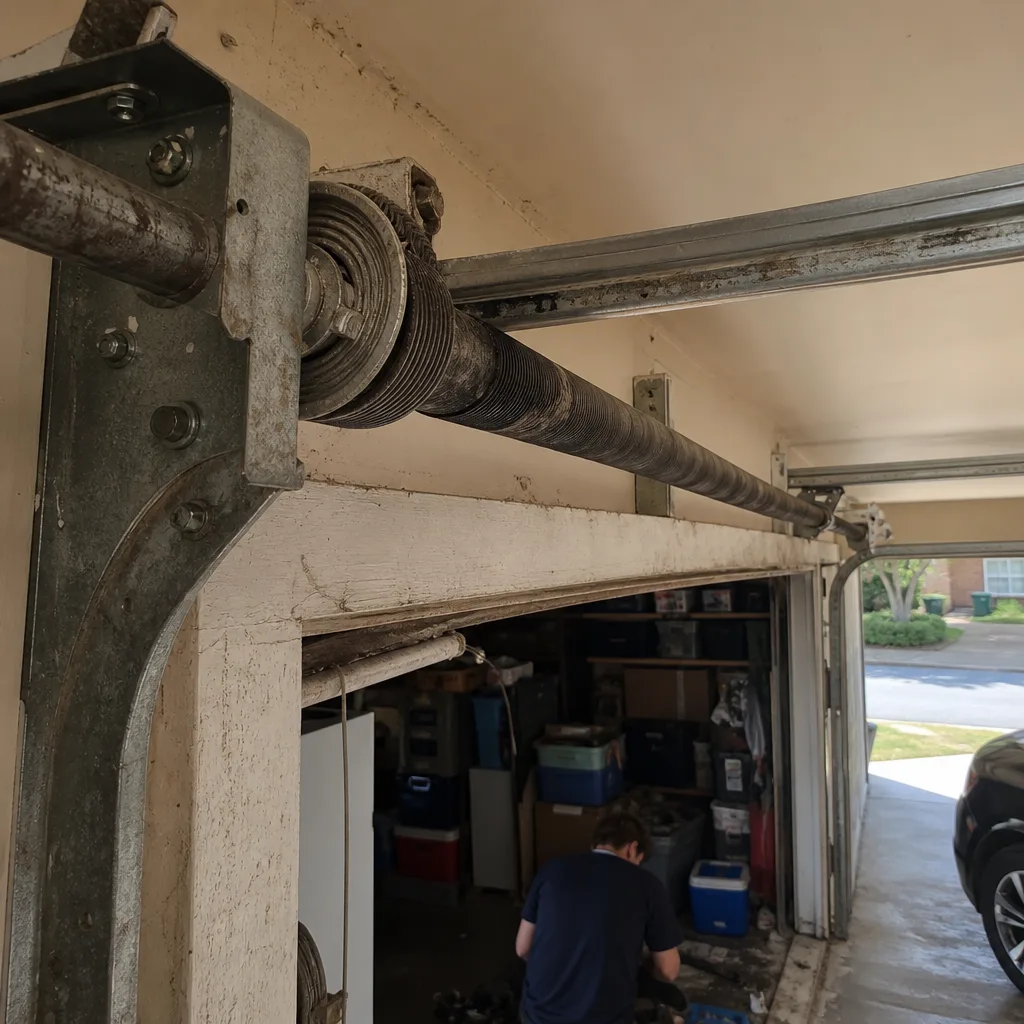 Before
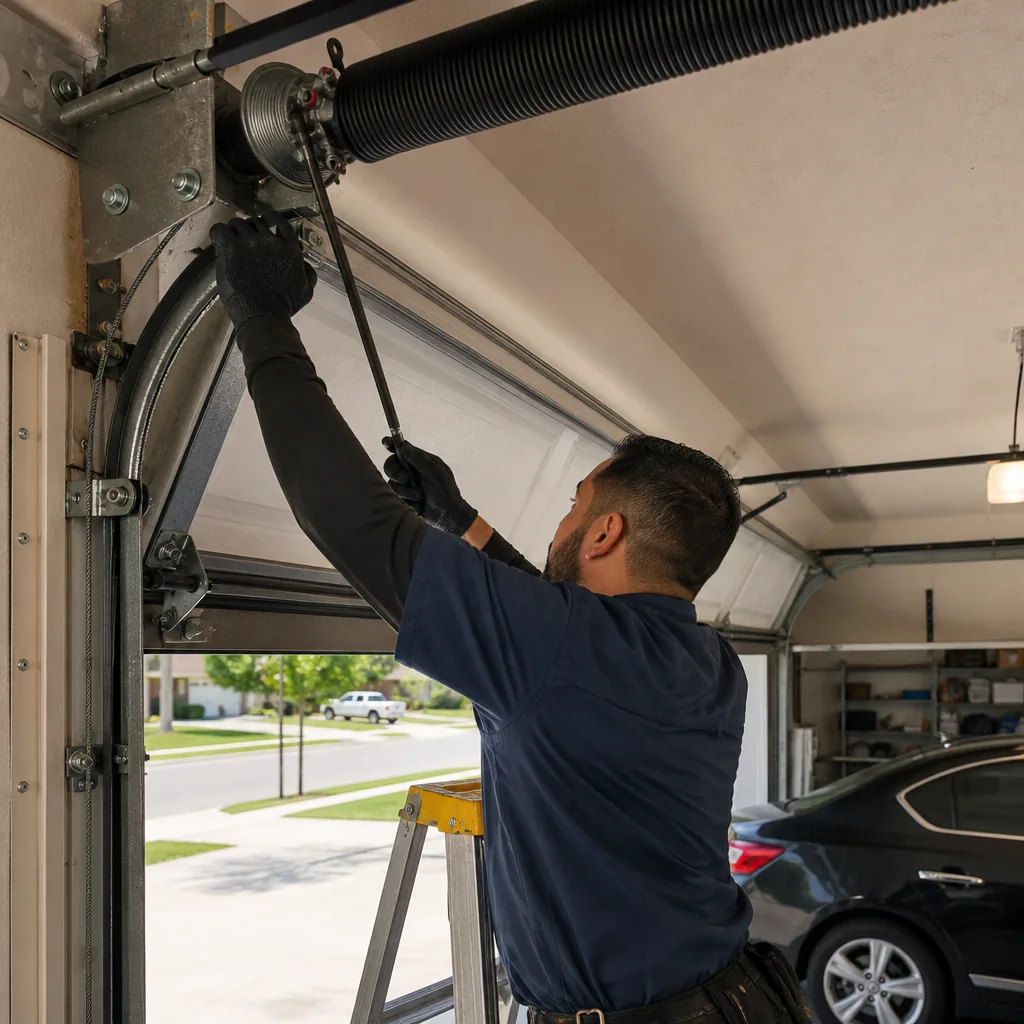 After
After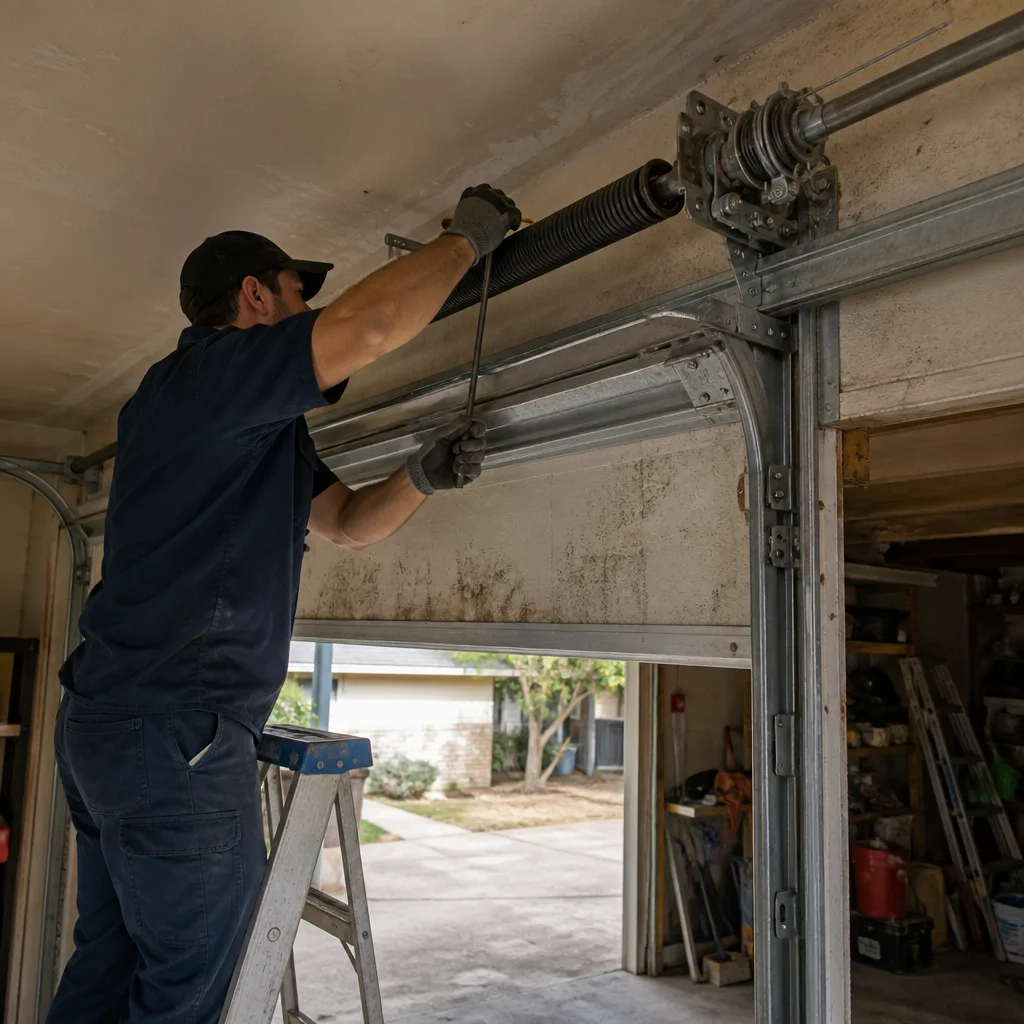 Before
 After
After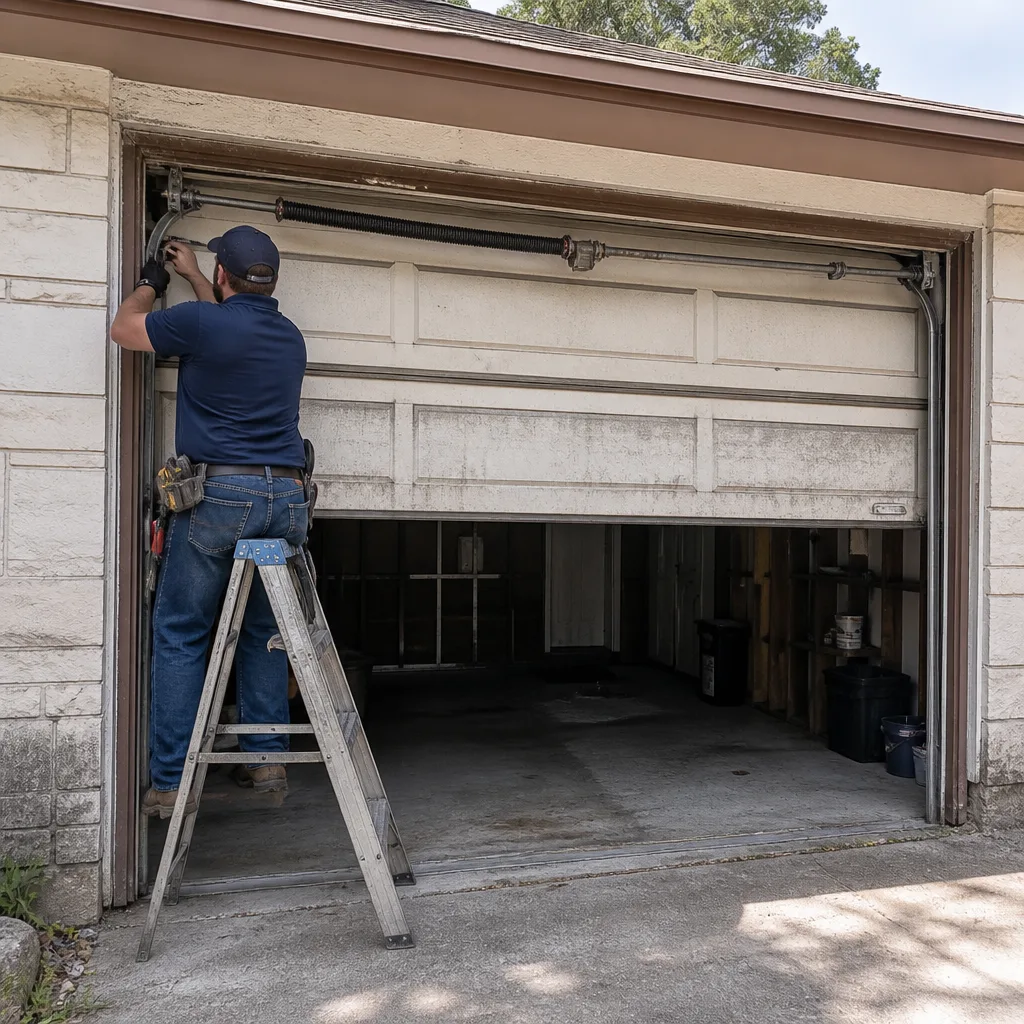 Before
 After
After